Custom Color Tissue Paper Fans to
Festoon Your Wedding Arch.
Designed by: Shannon Cosgrove-Rivas
SHOPPING LIST
Design Master Perfect Pink 780
Design Master Antique Gold 746
11 x 14 wooden laser cut frame
Thin plywood cut to fit the laser cut frame
Graphic to trace, printed on copy paper
White chalk
Fine grit sand paper
Thick and thin white paint pens
Ribbon
Painter’s tape
Pencil
E-6000 glue
TECHNIQUE
1. Paint the plywood with Flat Black.
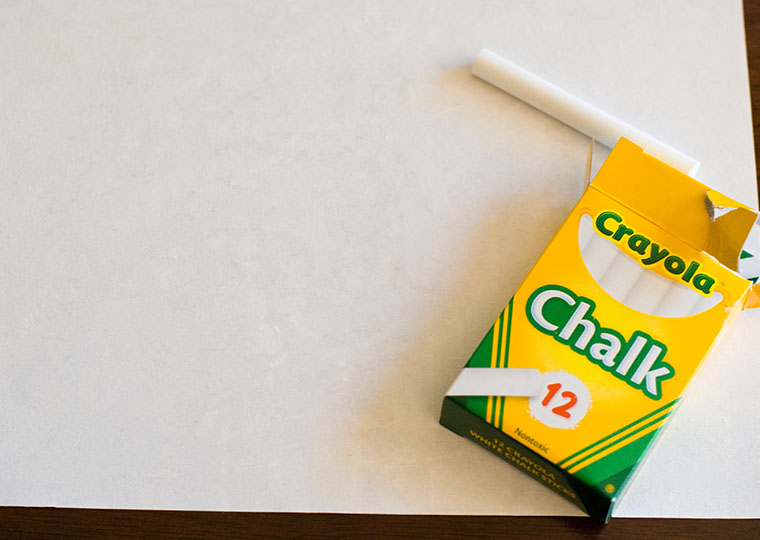
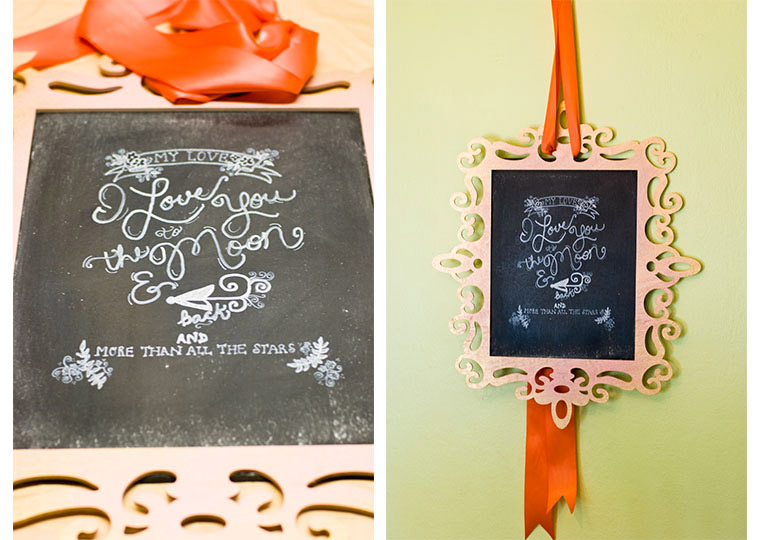
2. Print out the graphic quote you want to trace on to the sign. Completely cover the backside of the printed-paper by coloring it heavily in white chalk.
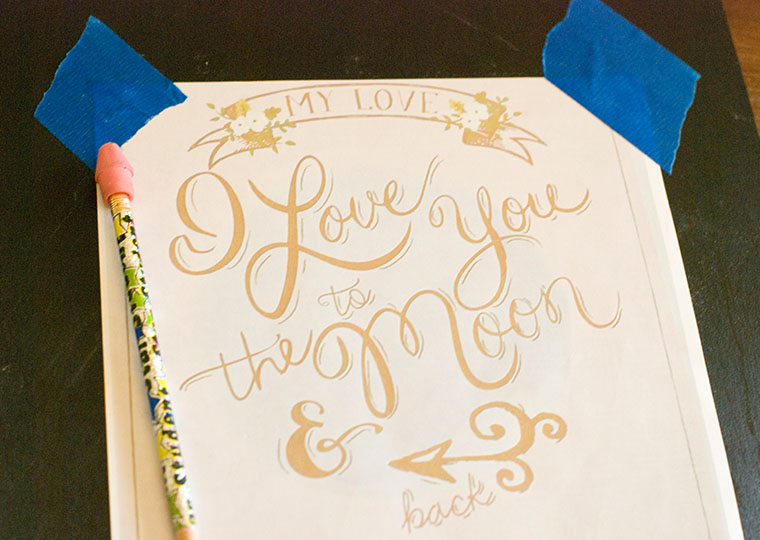
3. Tape the graphic, chalk side down, to the painted plywood. Trace every line of the graphic using a pencil and with firm pressure.
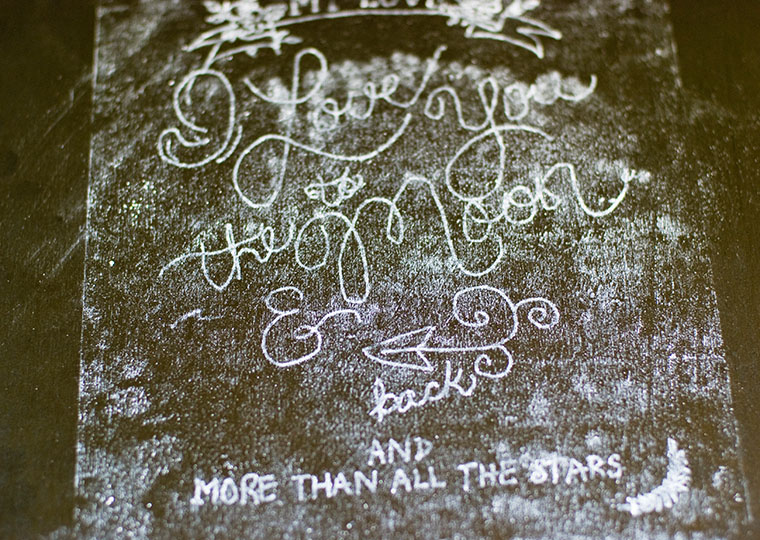
4. Remove the paper and you will have a complete tracing of your graphic in chalk on the plywood.
5. Write over all the chalk tracings using a white paint pen. This will make your graphic permanent. You might want to vary the thicknesses of the lines of the paint pens by using two or more pens in different thicknesses.
6. When the paint pen writing is dry, lightly sand the lettering with a piece of fine sand paper. Don’t remove too much of the writing but to slightly scuff it to mimic the writing on a chalkboard.
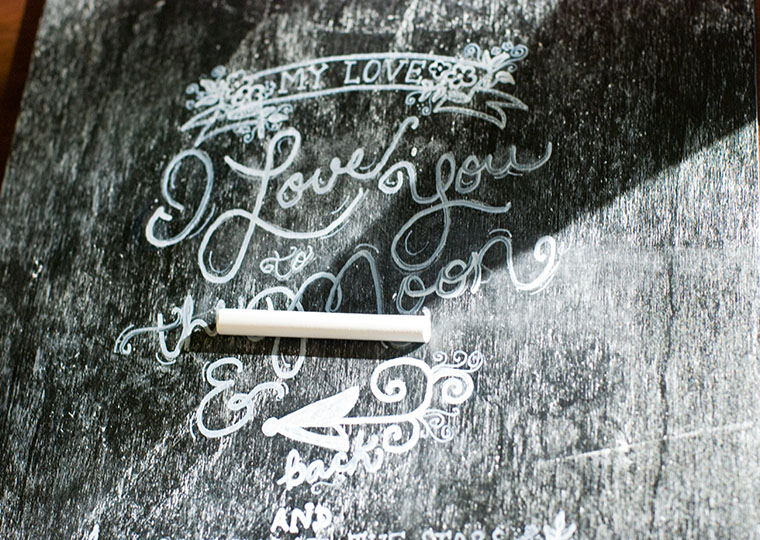
7. Using the flat side of a piece of chalk, cover the entire piece of plywood in a light dusting of chalk. Wipe most of the chalk dust off the plywood.
8. Paint the frame in Perfect Pink. When the frame is dry, lightly mist the outside edges with Antique Gold, making sure not to cover the Perfect Pink color too heavily.
9. Glue the frame and plywood together using E-6000 glue.
10. When the glue is dry, hang your finished faux chalkboard sign with ribbon.