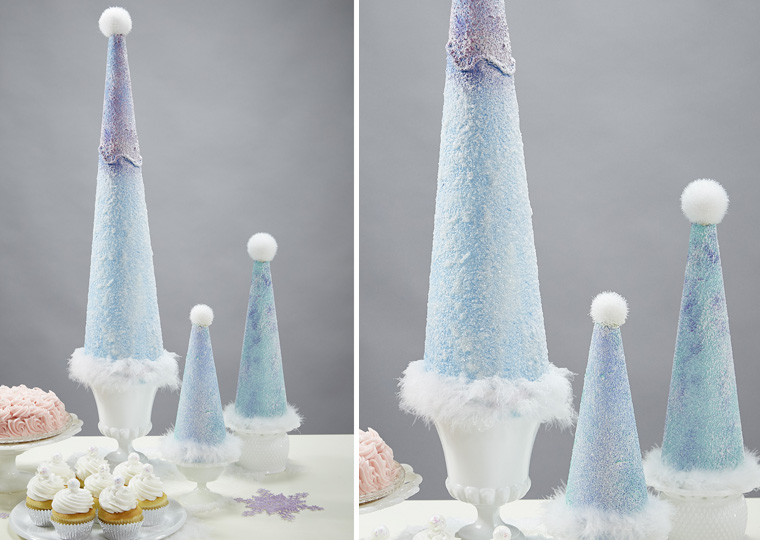
Sparkling frosted trees add a bit of whimsy to frozen themed decorations.
by Shannon Cosgrove-Rivas
SHOPPING LIST
Design Master Just For Flowers 138 Purple Pansy
1- 18” tall Styrofoam™ brand foam cone
1- 12” tall Styrofoam™ brand foam cone
Modpodge
Chunky opalescent glitter
Foam Brush
Container for mixing and popsicle stick for stirring
White feather trim
White pom-poms
Scissors
Hot glue gun and hot glue
TECHNIQUE

1. Paint the cone with Robin’s Egg being sure to follow the directions on the label for spraying Styrofoam.
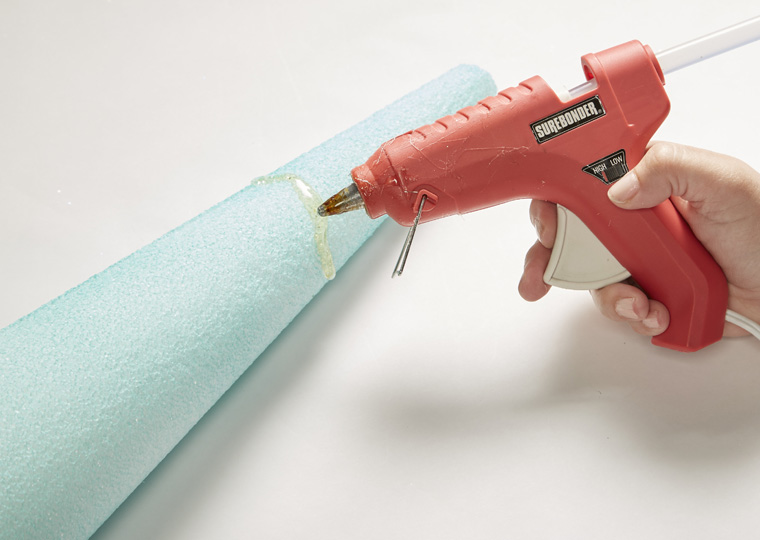
2. About 6” from the tip of the cone, run a thick bead of hot glue.
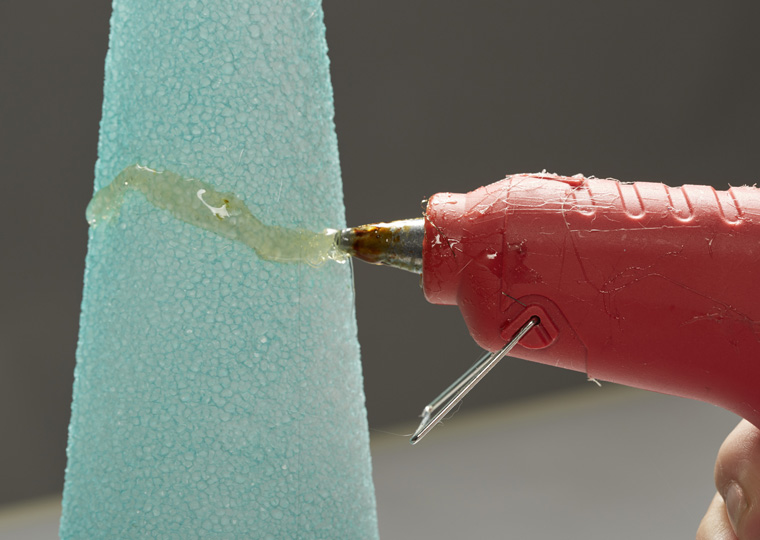
Allow the glue to vary in height and thickness. This will be the snowline.

3. Pour about ½ a cup of Modpodge into a bowl. Add the glitter until the texture of the mixture is chunky but not dry.

Stir until the mixture is well combined.
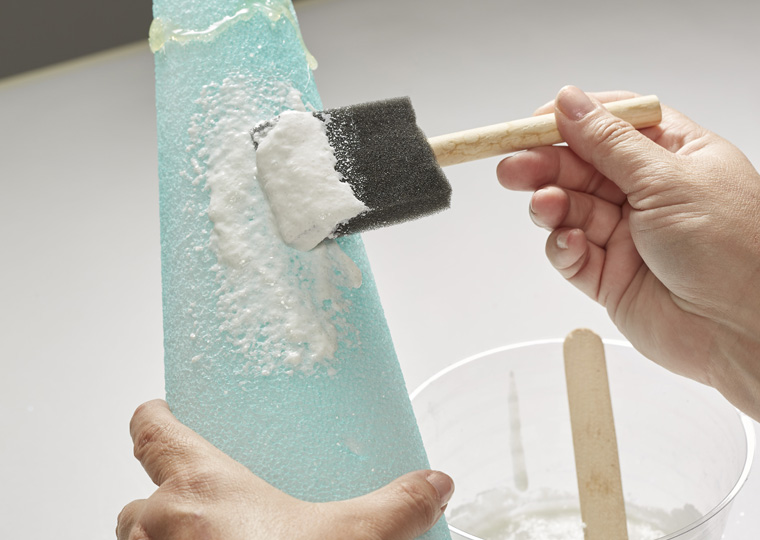
4. Brush the mixture on to the cone’s lower portion. Apply the glitter mixture until the whole lower part of the cone is completely and heavily covered. Allow to the glitter and glue mixture to dry on the cone.

5. Spray a thick layer of snoBLAST to the upper part of the cone. Apply the snoBLAST heavily towards the hot glue snow-line. You will want the snoBLAST to be thicker the closer it gets to the hot glue snow-line. Allow the snoBLASt to dry thoroughly. Apply additional coats, if needed.
6. When the snoBLAST is dry, lightly paint it with Purple Pansy.
7. Edge the base of the cone tree with the feather trim. Adhere the trim with hot glue.
8. Hot glue a white pom-pom to the top of the tree.