Do you have any menacing ancestors lurking around? Its easy to see Halloween is a favored holiday of our guest blogger, Shannon Cosgrove-Rivas. Enjoy her witty take on family portraits!
Did you know a little bit of shiny gold spray paint can turn a craft store find into an expensive looking piece of holiday home décor? It can! I love the dramatic transformation you can achieve when spraying an item gold.
When I spied the skulls used in this project they were advertised as a “vase filler”. I threw a few bags of the skulls in my cart without really knowing how I was going to use them. Then it came to me, glue them to a frame and spray them GOLD!
This is such an easy project with just a few items and some simple steps you can have your own Gold Skull Frame.
Shopping List:
1- 8×10 picture frame with a wide frame
50-75- 2 inch plastic skulls (sold as vase fillers)
75-100- ½ inch plastic skulls (I took apart a necklace and used the skull beads)
1- 8×10 Halloween image to frame
Extra strength hot glue sticks
Hot glue gun
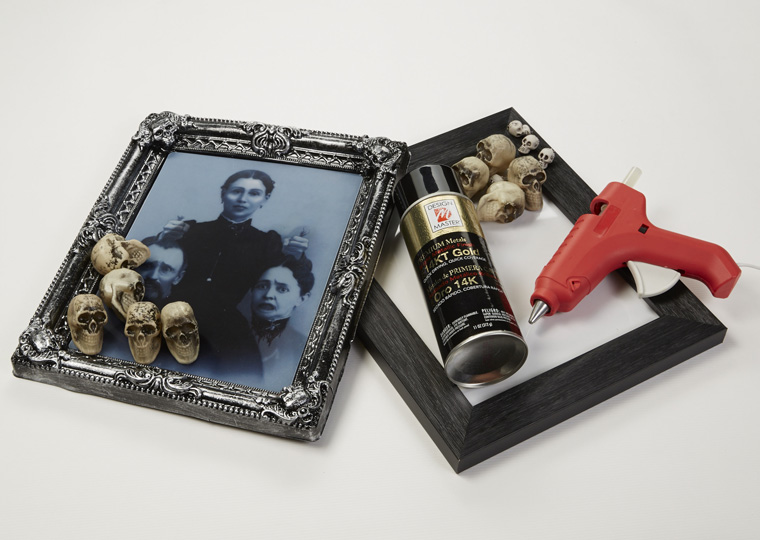
Technique:
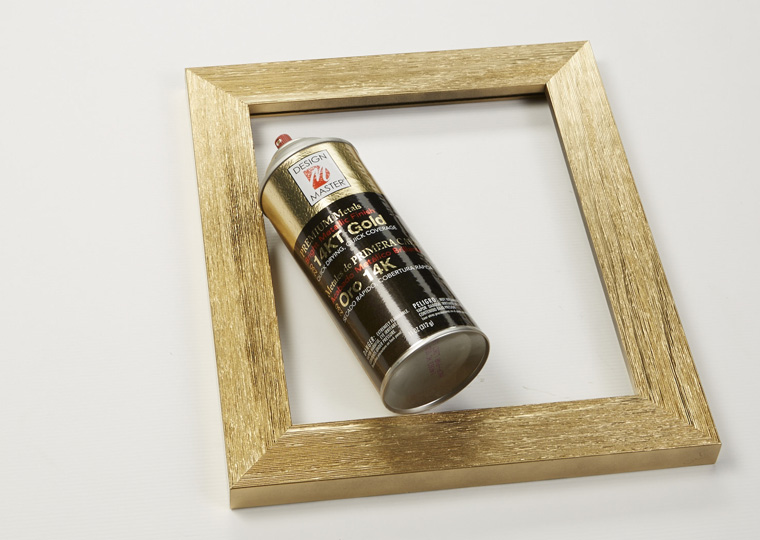
1. Paint the frame with Design Master 14KT Gold spray.
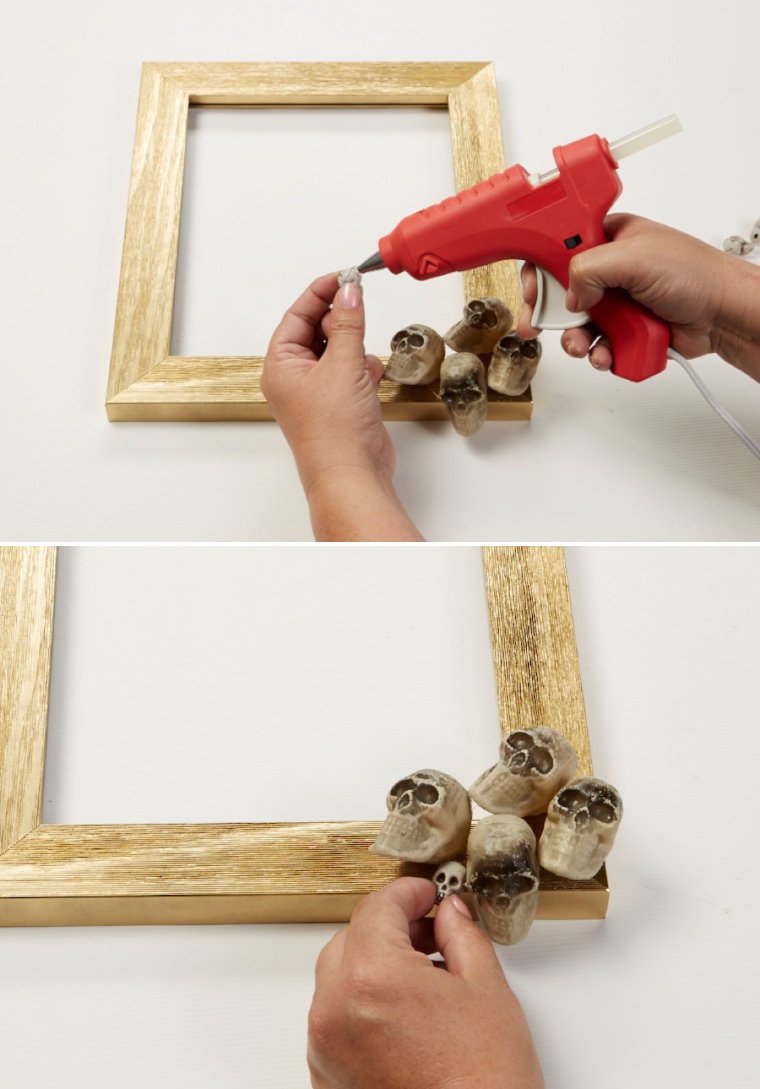
2. Hot glue the skulls in both sizes around the frame. Puzzle piece the skulls together until the entire frame is covered.
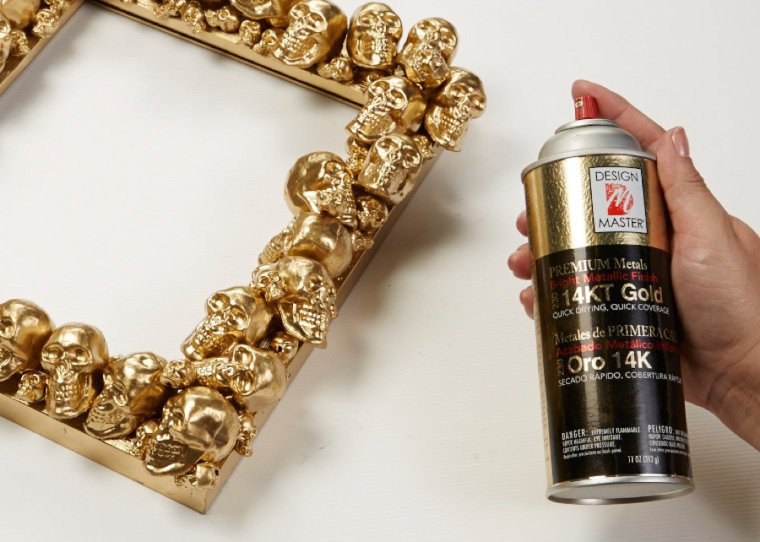
3. Once the frame is covered in the two sizes of skulls, paint the skulls and frame with Design Master 14KT Gold.
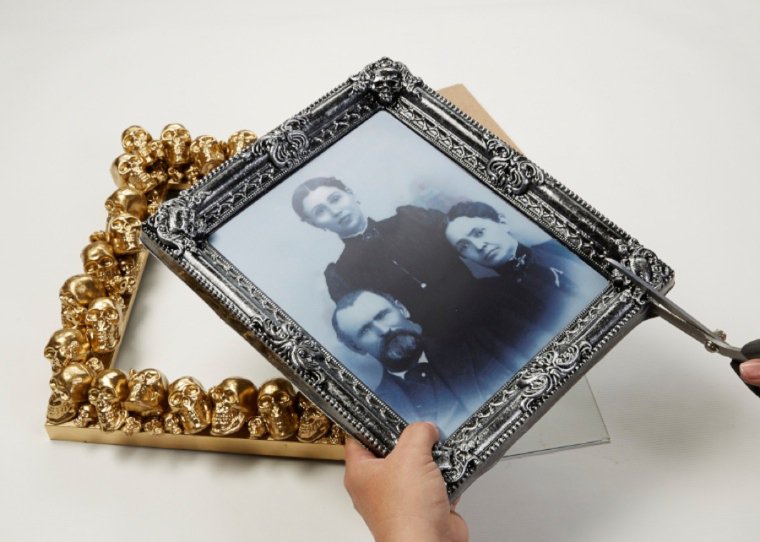
4. I used the changeable Halloween portrait for the image I framed. They are so fun! If the image comes pre-framed, remove it from the frame and place it in your fancy gold skull frame.
I have a fashionista friend that declared the finished frame is very “Alexander McQueen”. I agree! She wants me to make her a frame for her birthday. I need more skulls.
Enjoy!