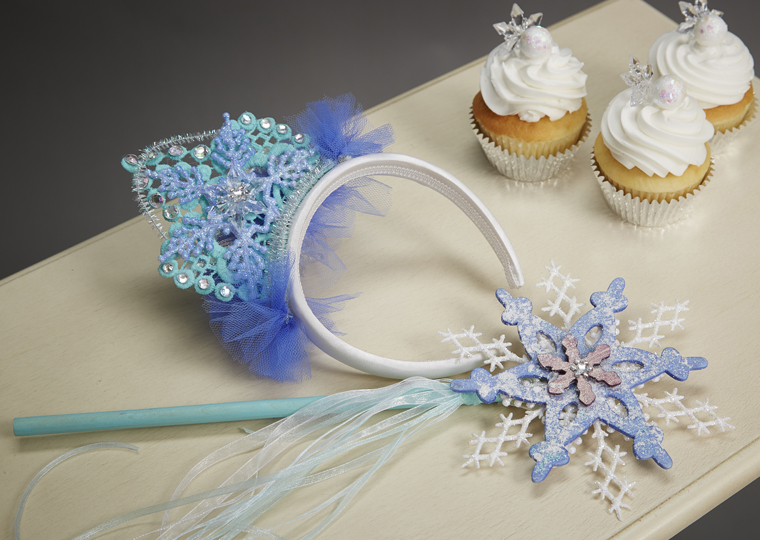
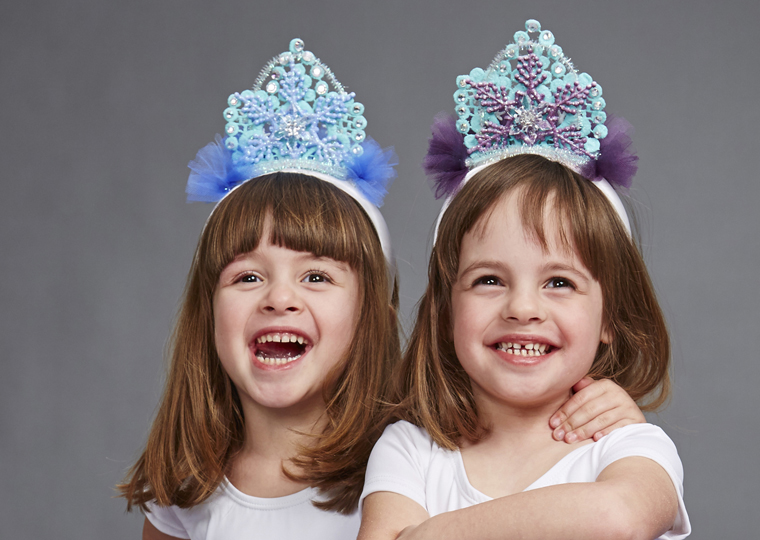
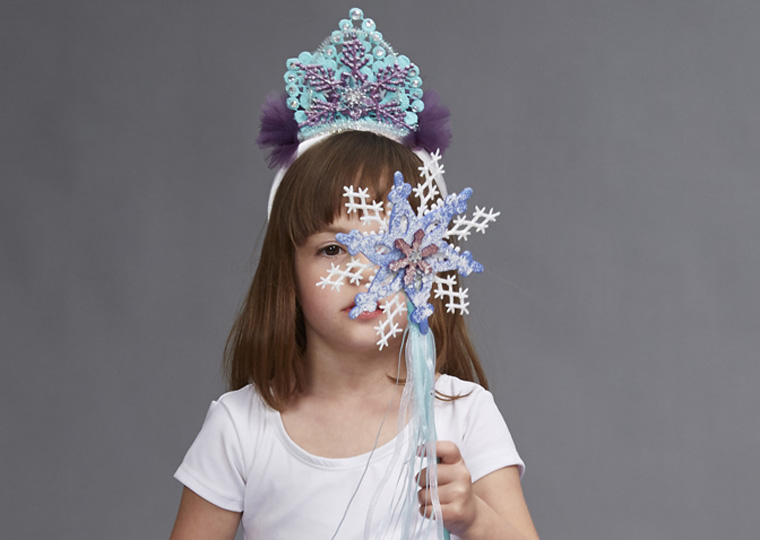
Every Princess needs a Crown and a Magic Wand! Delight yours with this royal attire to celebrate a birthday or just for play!
by Shannon Cosgrove-Rivas
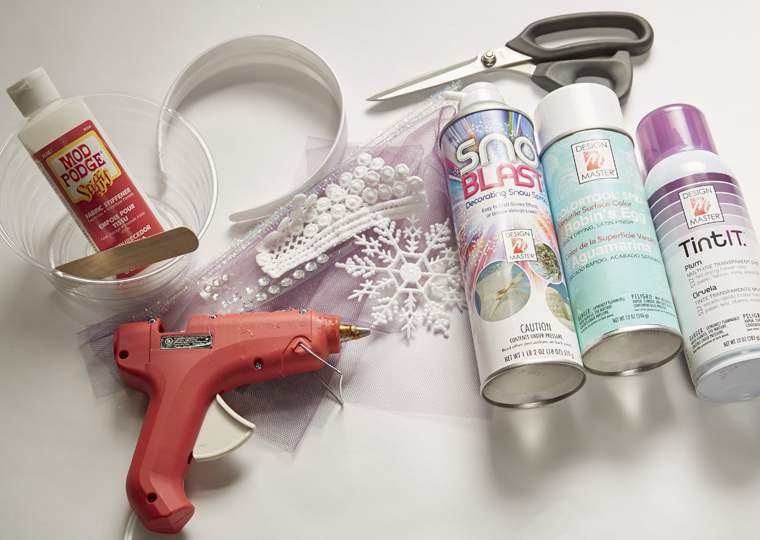
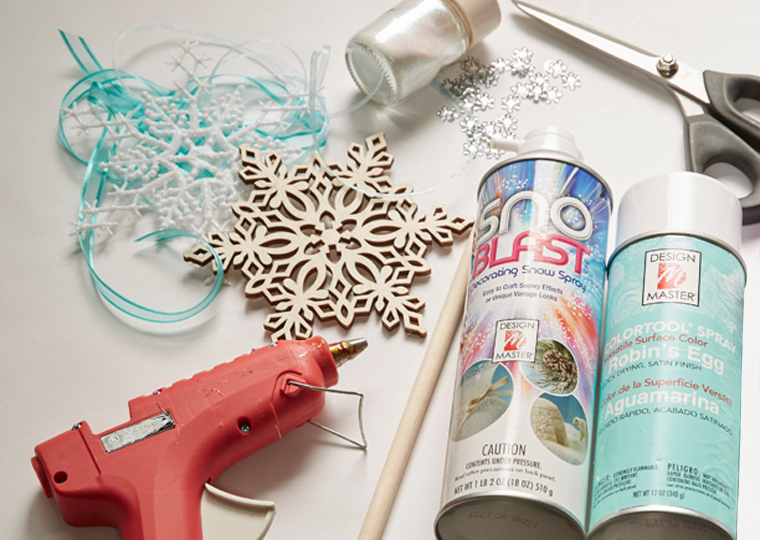
Shopping List : CROWNS
Design Master Just For Flowers 138 Purple Pansy or 137 Delphinium Blue
Hot glue and hot glue gun
Scissors
1- 6” White plastic snowflake ornament
5 Opalescent chenille stems
Flat-backed clear rhinestones
1- White satin headband
3 yards of white 6” wide tulle
Crocheted lace piece (the lace should be roughly the shape of a crown)
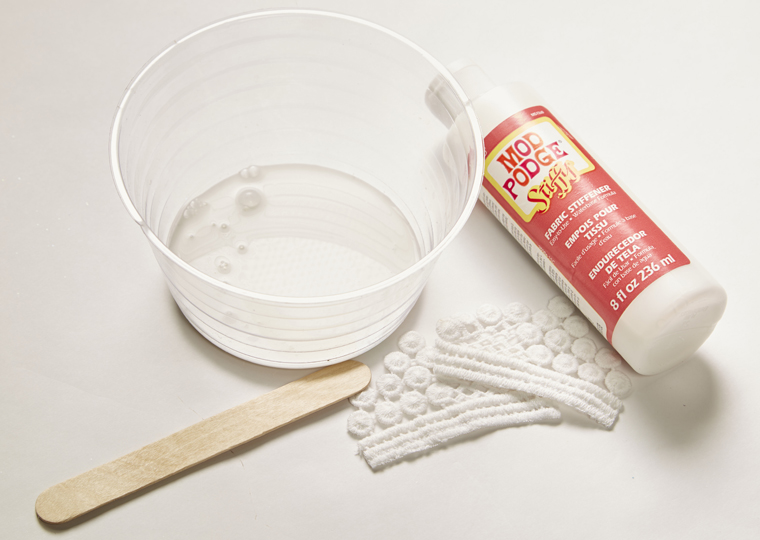
Fabric stiffener
Technique : CROWNS
 1. Trim the portion of the lace that you will be using as the crown portion.
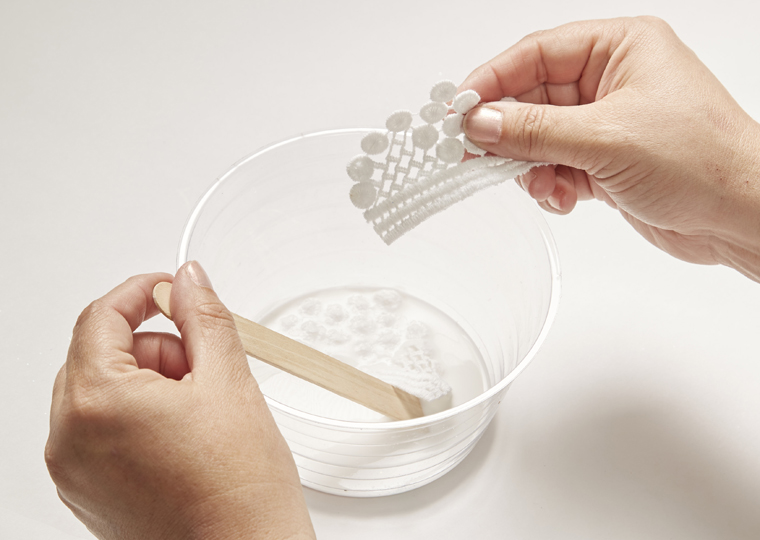 2. Stiffen the lace using the fabric stiffener according to the package’s directions.
 3. Allow the lace to dry flat completely until the lace is stiff and stands up on its own.
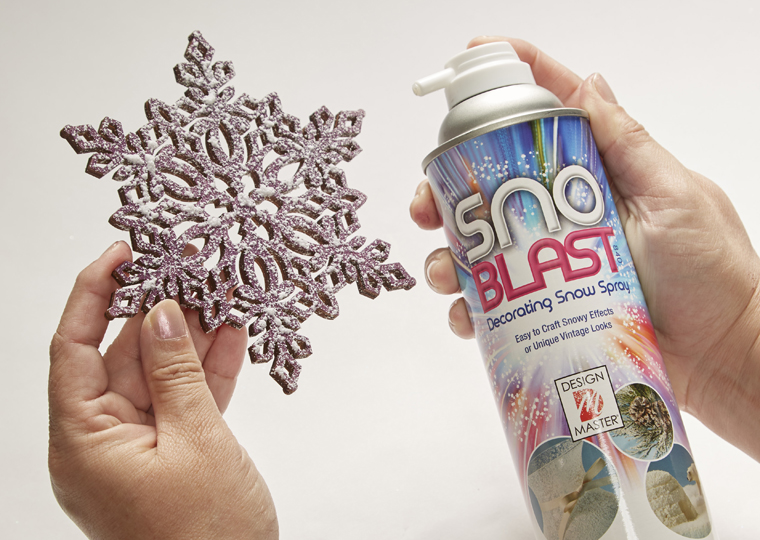
4. Spray the plastic snowflake with Purple Pansy.
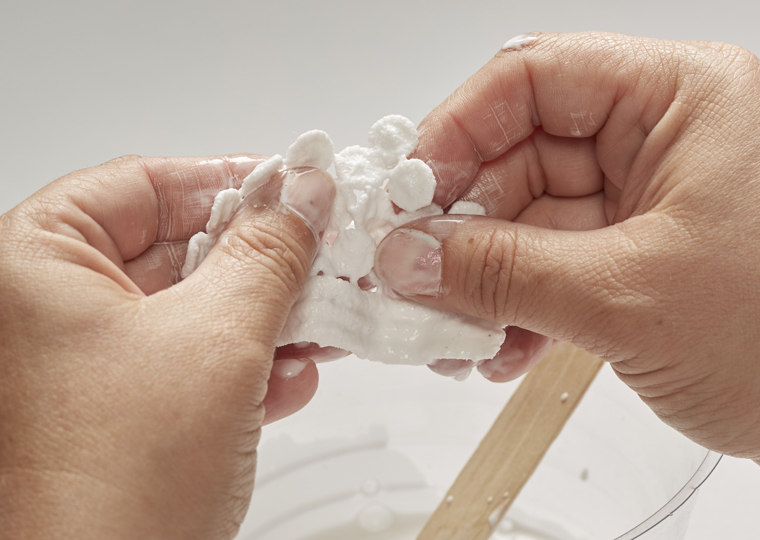
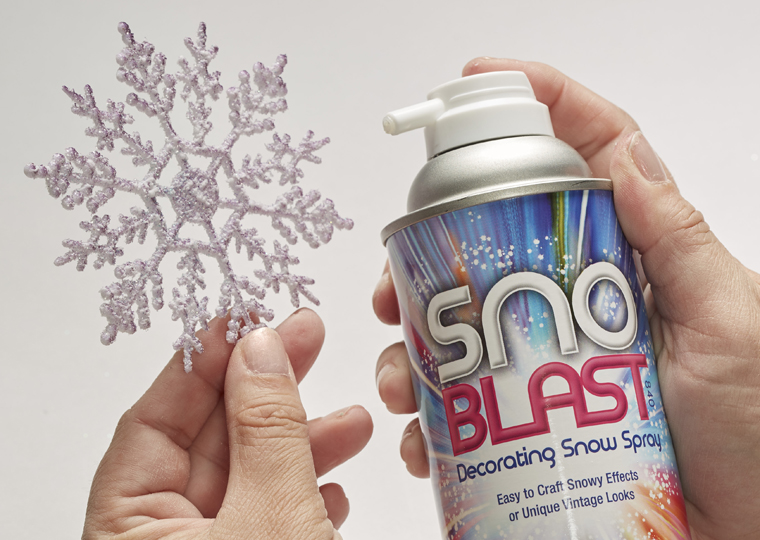 5. Spray the tinted snowflake with SnoBLAST.
6. Paint the stiffened lace with Design Master Robin’s Egg.
7. Glue the flat-backed rhinestones to the lace, placed to highlight its details.
8. Remove the bottom fractal of the snowflake so it can be attached, standing up to the crown.
9. Hot glue the lace behind the snowflake.
10. Hot glue the small clear snowflake to the center of the snowflake.
11. Highlight the lace and snowflake with the opalescent chenille by bending the chenille over the top of the snowflake and hot gluing it in place.
12. Cut 5 – 24”l X by 3” w strips of tulle.
13. Paint the tulle strips with Purple Pansy.
14. Make small tulle poufs by looping the tulle into a bow shape, secure with chenille, trim the ends of the loops so the tulle is about 3 inches long.
15. Hot glue the snowflake and lace piece to the top center of the satin headband.
16. Hot glue the chenille stem to the seam where the lace meets the headband so it hides the meeting point.
17. Hot glue the tulle poufs to the sides and around the back of lace piece where the lace meets the headband so it hides the meeting point.
SHOPPING LIST : WANDS
Design Master 138 Purple Pansy or 137 Delphinium Blue
Hot glue and hot glue gun
Scissors
Fine opalescent glitter
1- 5” wood die cut snowflake shape
1- 1” wood die cut snowflake shape
1- 6” White plastic snowflake ornament
1- 1/2” Wood dowel
Rhinestone
Ribbon
TECHNIQUE : WAND
1. Cut the wood dowel to a length of 14”. Paint the wood dowel in Robin’s Egg. The dowel should be completely covered. Allow the dowel to dry.
2. Paint the 5” wooden snowflake with Purple Pansy.
3. Paint the 1” wooden snowflake with Delphinium Blue.
 4. When the snowflakes are dry, spray them with a light covering of snoBLAST.
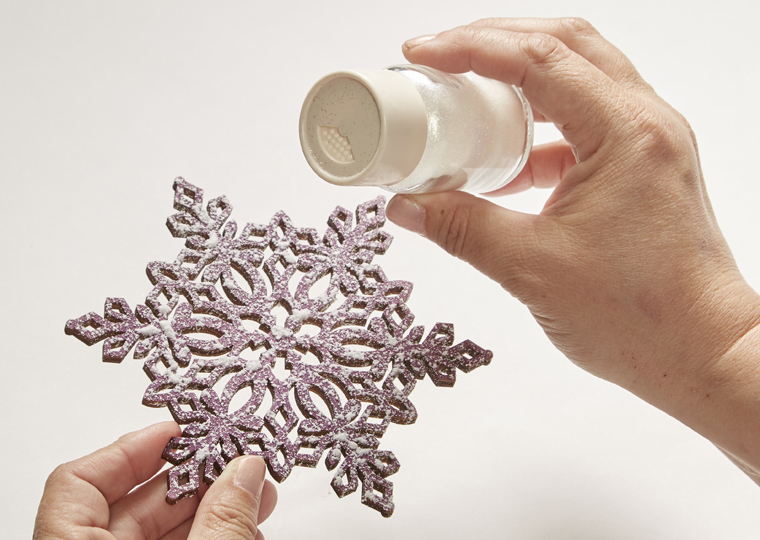 5. Immediately sprinkle micro-fine glitter on the snoBLAST covered snowflake. Allow the snoBLAST to dry completely before handling the snowflakes.
6. Hot glue the 5” snowflake on top of the plastic snowflake ornament.
7. Hot glue the 1” snowflake to the center of the 5” snowflake.
8. Hot glue a rhinestone to the center of the 1” snowflake.
9. Adhere the stacked snowflakes to the wooden dowel using hot glue.
10. Tie streamers of ribbon to the wooden dowel at the base of the attached snowflake.