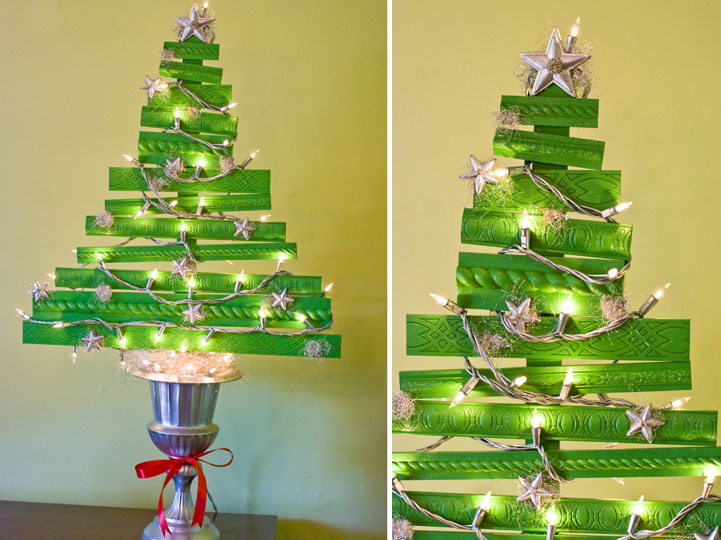
Deck the Halls with Boughs of Color! Create this rustic & elegant Christmas Tree to make any room festive for the Holidays.
by Shannon Cosgrove-Rivas
SHOPPING LIST
Design Master Spring Green 753, Super Silver 732 and Glitter Silver 832
5 – 1 yard sections of different wood trims in various designs and widths
5 – 1 yard sections of flat wood trim to back the thinner decorative trim designs
1 – 4′ long flat wood stake
50 light Christmas light strand
Florist foam for artificial arrangements
10″ tall footed urn, metal one used here
12 small carved wooden stars
1 large carved wooden star
12 clear rhinestones
1 clear rhinestone button
Silver angel hair in ultra thin metal
Florist greening “s” pins
1 – yard of red satin ribbon
Painter’s tape
Hot glue gun
Saw
TECHNIQUE

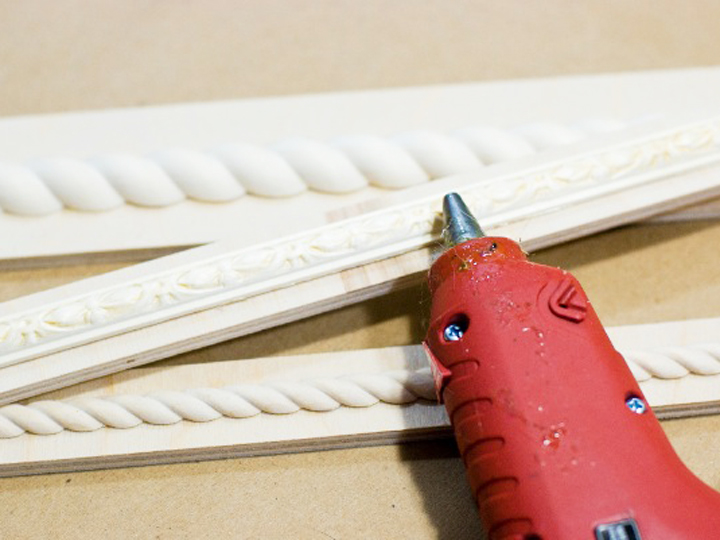
Hot glue thinner trims to the flat wood trim backing.
Cover Christmas light bulbs with small pieces of blue painter’s tape.
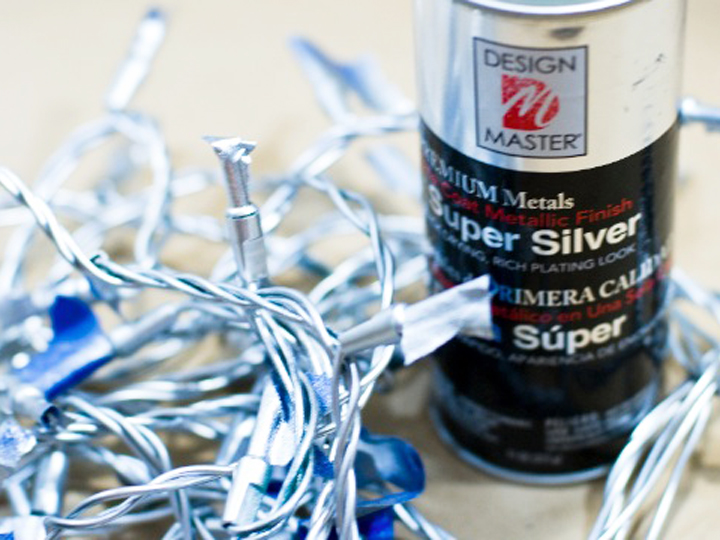
Paint the Christmas light cord and bulb sockets with Super Silver. When the cord is dry, remove the tape covering the light bulbs.
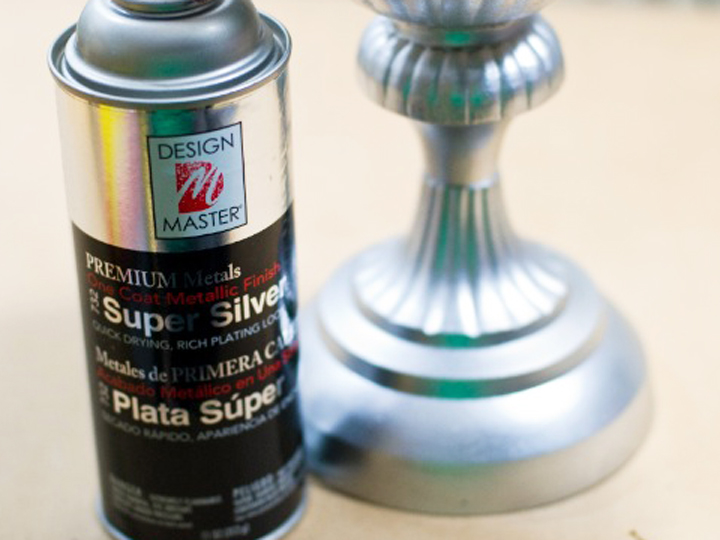
Paint the footed urn with Super Silver.

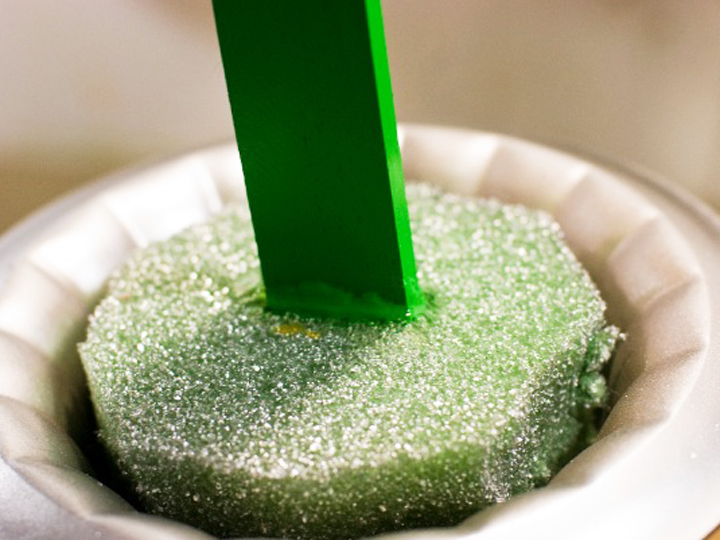
Trim the block of florist’s foam so it fits snugly inside the opening of the painted urn. The top of the foam should be just level with the edge of the opening of the urn. From a distance of 18″ lightly paint the foam in the urn with Super Silver.
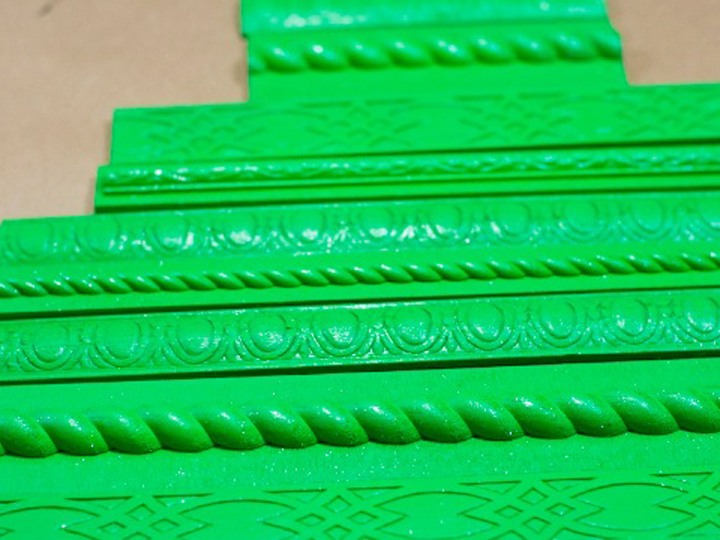
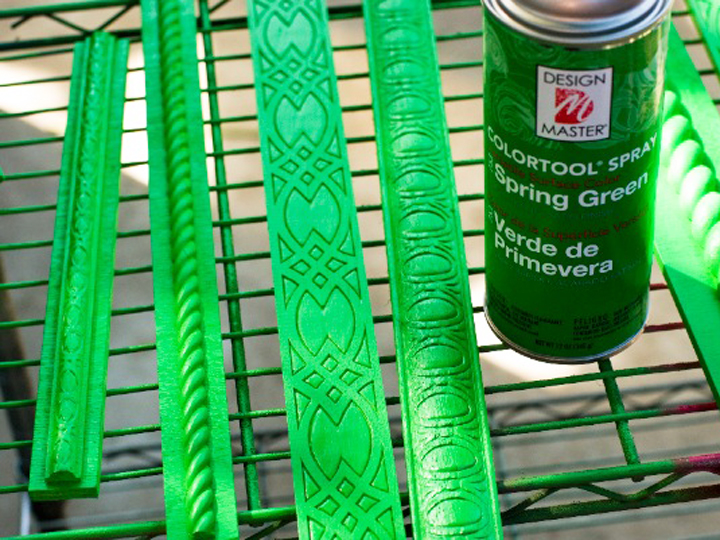
Layout and plan trim placement and sizes. Cut trim in graduating lengths to mimic the rough triangular shape of a Christmas tree. Then paint the cut trim pieces and stake with Spring Green.
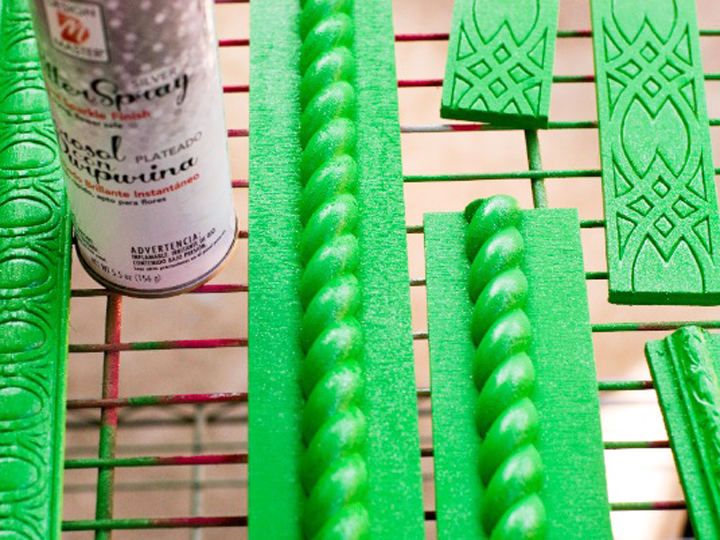
When the paint is dry, give the trim pieces a coat of Glitter Silver Spray.
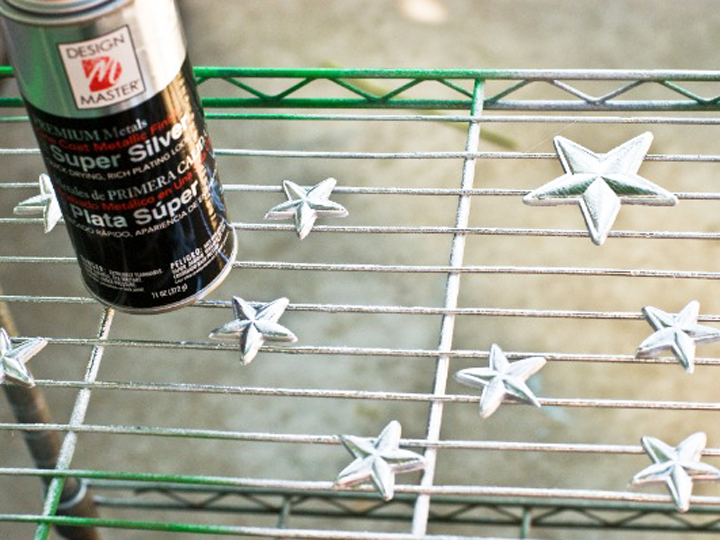
Paint the wooden stars with Super Silver.
Insert the painted wood stake a few inches into the foam in the urn. Hot glue the stake in place to add stability.
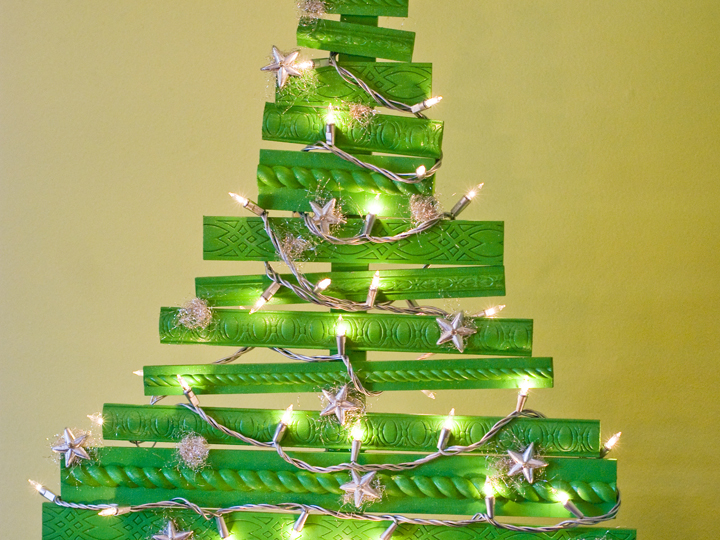
Hot glue painted trim pieces to the stake in the urn. Space the trim pieces with a little irregularity and not quite straight to give the finished piece a sense of rustic charm.
Run the silver corded Christmas lights throughout the secured trim pieces that now form your Christmas tree. Make sure the plug end of the lights is at the bottom of the tree so it is easy to plug in. Leave a length of lights to wrap around the base of the tree. If needed, you can glue the lights in place at a few spots for added security. Just make sure your hot glue gun is set to low temp so you do not melt the cord on the lights.
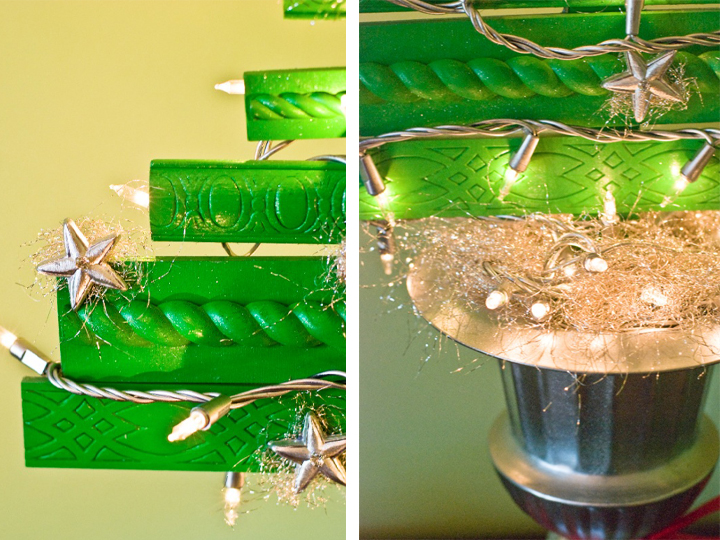
Hot glue a small amount of the silver angel-hair to the back of the wooden stars. Glue the rhinestones to the middle of the small stars and the button embellishment to the middle of the large star. Attach the decorated stars to the tree in a random, but evenly spaced, pattern to the tree.
Cover the foam with the silver angel hair and pin the cord of the lights into the foam using “s” pins.
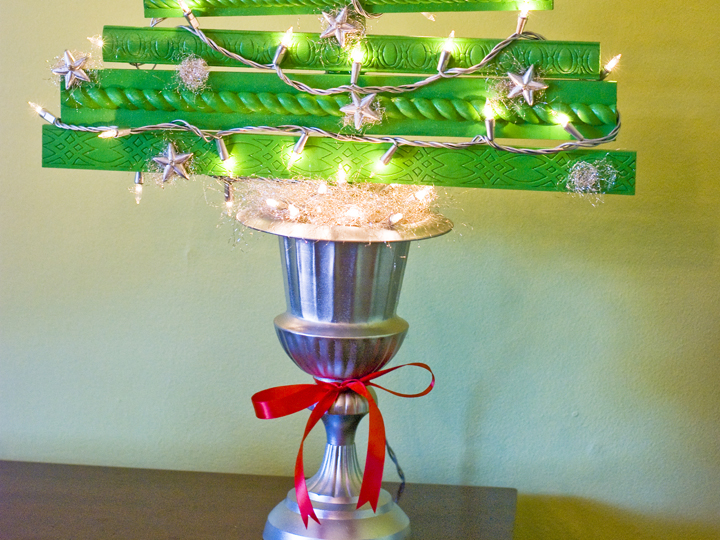
Tie a simple bow of red satin ribbon to the base of the urn.